
Whereas a table saw will only allow you to have right-angled cuts, having a bandsaw can provide you with a plethora of cutting capabilities and you will not have to worry much about bandsaw safety. This article is specially designed for the beginners to tell them about how to use a bandsaw accurately in eight easy steps. Let’s get started!
How to safely operate a bandsaw? – 8 easy steps to go
Step 1: Gearing up for your cutting game
Before knowing how to use a bandsaw a user needs to be aware of how to use a bandsaw safely. Even though it is an obvious step, it is worth mentioning again. Get your workstation ready before operating the machine. Make it dust-free to avoid any difficulties during the work.
Wear safety glasses to safeguard your eyes. Keep all the necessary tools nearby. Keep your bandsaw turned off before adjusting everything. Give a read to the bandsaw safety instructions because bandsaw safety rules are essential to steer clear of any undesirable accidents and bandsaw hazards. Look at your hands while cutting something.
Step 2: Choose the right blade based on your project to get the best result
Some people tend to use the same blade for cutting everything which is a severe mistake. Bandsaw blades can vary in designs regarding their width, material, functions, and tooth. The blade’s width is interlinked with the cutting radius. Besides, different types of tasks demand different types of bandsaw-tooth.
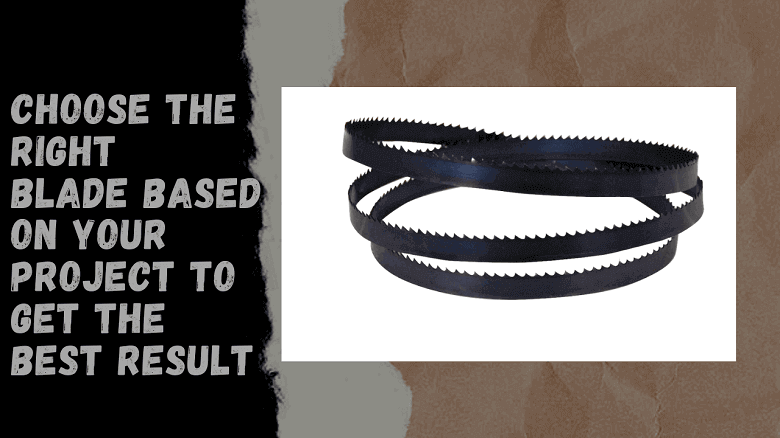
Three of the most common blade types are regular tooth, skip tooth, and hook tooth. Not every blade is designed to do the same job. To accomplish your task perfectly, make sure that you have the appropriate blade before cutting. Else, you would not get your desired result.
Step 3: Have proper tension on the blade
Many users do not give importance to the blade tension. However, it can make a big difference to your cut. It is one of the crucial bandsaw techniques and it can be trickier to spot the appropriate tension for your blade, especially if you are a newbie.
For a carbon steel blade, it is suggested by the majority of the blade manufacturers to keep it between 15,000 psi to 20,000 psi. To make the blade more rigid, higher tension is required. If you have to make demanding cuts, raise the tension level of the blades to avoid deflects in your cut.
Step 4: Adjust the height of the blade guard
The blade guard helps to keep the blade in place to make it aligned. One can adjust it vertically by moving it up and down. It needs to be set according to the thickness of the wood or any other material.
It is wise to keep it one and a half-inch or even lesser above your piece of wood, but you can adjust it as your preferences. Make sure to lock it in place before cutting. There is plenty of bandsaw uses. Adjust everything according to your project.
Step 5: Set the speed before operating the bandsaw
Most of the machines with a single-speed is usually made for woods. Some models of bandsaw provide the user with options of running it at different speeds. 3000 fps is considered as an idle speed for most of the tasks. If your bandsaw has multiple speed ranges, it is safer to keep it between 2000 to 3000 fps.
It also depends on the type of material you will be cutting. If you are using a bandsaw machine for wood cutting, you can deal with a higher rate of speed. Woods can handle higher speed but switching from wood to metal may require to decrease the speed level since metal is harder in comparison with woods.
Step 6: Mark your cut properly to avoid mistakes
This step is a must for everyone! There is nothing more basic than marking your piece of material. Measurement is very essential when it comes to woodcutting. You cannot undo something once your wood goes under the blade. A pencil is a great tool to mark your cut. Markers can be utilized for this task as well. Invest your time on perfecting the measurement for your cut, because once you cut something there is no going back!
Step 7: Turn on the bandsaw to make the cut
Before making your cut, flip the power switch to turn the machine on. Within a split of a second, your machine will be powered up and will be ready to cut your material. Line up the marked line on your material with the blade of the bandsaw.
Keep your hands away from the blade and place it on the material in such a way that will make the job easier for you. After that, slowly feed that material into the blade. Do not rush here and never force it. A very minimal pressure will be fine to make its way into the blade. If something goes wrong, turn off the bandsaw immediately.
Step 8: After work
After finishing your work, make sure to turn off the bandsaw. It is risky to keep it turned on, especially if there are kids nearby. Develop the habit of releasing the tension of the blade as well. Do not leave it at a high level once you are done using the bandsaw.
This will allow you to avoid making unwanted cuts next time since it is very normal to forget adjusting the tension beforehand. Never forget to clean your work station again to remove the dust and wood waste. Take good care of your machine and clean it regularly to increase the life span of your bandsaw.
Final thoughts
It is not difficult to understand how to use a bandsaw. Following the above-mentioned steps will assist you in operating the bandsaw with more ease. Manual bandsaw operating instructions should be read to know more about the bandsaw machine itself because every model is different from the others. With enough amount of practice, you soon will ace your cutting game.

This is me Sonnet. I manage a full-time workshop for my clients’ woodworking projects. From a very young age, I’ve been always passionate about DIY projects. And that’s the reason I’m amicable with the woodworking tools. I’m regularly handling a couple of projects like cabinets, furniture, boats, and many more using wood, veneers, and laminates.