If you own a band saw then you must have noticed that its wheel’s use tires. These tires also get worn away after a certain time. To replace your band saw tires properly, you need to know how to measure band saw tires. Without proper measurements, you can not install tires of any size in your band saw.
Both wheels of band saws use tires to prevent themselves from any damage. These tires also help the blade to run smoothly and track the edges correctly. Thus, it is really important to measure and install proper tires for your band saw wheels.
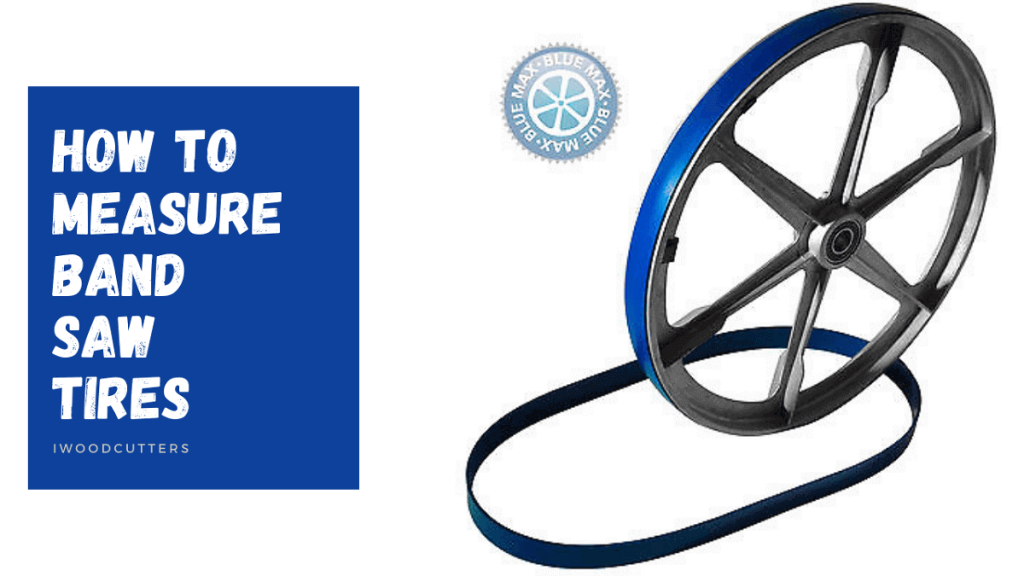
How To Measure Band Saw Tires- Measuring & Replacing Band Saw Tires
It is not so hard to measure band saw tires. There is a small and simple trick you can use to measure your band saw tires. But measurements would be of no use if you don’t replace your band saw with new tires properly. So, follow our enlisted instructions to measure and replace the band saw tires properly.
Here is the trick! Measuring band saw tires are hard but you can easily measure band saw wheels and calculate band saw tires size.
- Measuring Band Saw Wheel’s Diameter: Use a scale to measure your wheels’ diameter in inches. Place the scale at one end of the wheel and measure it till the same opposite end of the wheelbase.
- Subtracting 2 Inches From Band Saw Wheel’s Diameter: Once you know your band saws wheel diameter, subtract 2 inches from the wheelbase size and it would be your band saw tires size. This measurement trick works for all sizes of wheels and tires of a band saw.
Replacing Band Saw Tires
Now that you can measure your band saw tires, you need to know how to remove the worn away tires and install new tires. If you don’t know how to replace tires then all your measurements are just a waste of time. Here are the proper steps about how to remove the band saw tires and install new ones:
How Remove Band Saw Tires
For removing the old & worn away band saw tires, you would only need a screwdriver. Place the screwdriver between the tire and wheel and start rotating the screwdriver. By doing this, you would reduce the traction and loosen the tire. Now tilt the top of the screwdriver and bring out the tire from. Once you bring out one part of the tire, you can easily remove it just by pulling it with your hands.
Installing Band Saw Tires
After removing the old band saw tires, you need to know how to install new tires in your band saw properly. There are two types of bandsaw tires and both of them are installed in different ways even though you can remove them with the same process. Rubber tires and urethane tires are used in a band saw. Here is how you can install these tires:
Steps To Install Rubber Tires In A Band Saw
Required Tools:
- Two C clamps
- 2 small scrap would pieces (¼ inches)
- Screwdriver (flat-headed)
- Any rubber adhesives
- 1 small pipe
- Placing The Rubber Tire: Firstly, you need to place the rubber tires with the wheel on one side. You have to start all your adjustments from the same part of the wheel.
- Setting Up Clamp: Setting up a clamp is a bit hard for some people so you can use a piece of scrap wood over the tire to set the clamp tightly. Repeat the same process to set another clamp on the same opposite side of the tire.
- Setting The Tire Accordingly: After setting up the clamp, you have to pull the remnant part of the tire to adjust it on the wheels. You can also roll the wheel while pulling the remnant part to easily adjust over the wheel.
- Using Screwdriver/Small Pipes For Tire Adjustments: After adjusting the tire on the wheel, you can use a pipe or a flat-headed screwdriver and roll it around the wheel. This would create equal tire tension in the band saw wheels.
- Applying Adhesives: At last, use rubber adhesives like glue or something else underside the tire and the wheel. This would improve the tire and the adhesion of the wheels. Use adhesive between tire and wheel when the pipe is placed between them.
Steps To Install Urethane Tire In a Band Saw
Required Tools:
- Warm water
- Soap
- 1 clamp
- 1 bucket
- Warm Soap Water: At first, mix warm water and some dishwashing soap in a small bucket and stir it well.
- Submerging Urethane Tire: Submerge the urethane tire for at least five minutes in the warm soap water. Remove the tire from warm water instantly within five minutes as submerging for a long time can damage the tire.
- Setting Up Clamp: Attach one part of the tire with one part of the wheel and attach the clamp tightly in the same place.
- Pulling Out The Remnant Part: Now pull out the remnant part of the tire around the wheel rim. Roll the wheel rim and pull out the remnant part all around the wheel gradually.
- Removing The Clamp: When the tire is fully set, remove the clamp from the tire. Now the tire is fully installed. Wait a few minutes before running the tire to let it cool down as it was submerged in warm water.
Conclusion
If you have reached this point, we are sure that now you know how to measure band saw tires. It is actually really easy to measure band saw tires but the complicated part is replacing band saw tires after measuring them. But if you follow the steps we have enlisted then you can do this task all by yourself without anyone else’s help.
The only thing you need to find out is what type of tires your band saw comes with. You can also change from rubber tires to urethane tires for long lastingness if you want. Now you are all ready to measure and replace your band saw tires.
Relevant Bandsaw Articles

This is me Sonnet. I manage a full-time workshop for my clients’ woodworking projects. From a very young age, I’ve been always passionate about DIY projects. And that’s the reason I’m amicable with the woodworking tools. I’m regularly handling a couple of projects like cabinets, furniture, boats, and many more using wood, veneers, and laminates.