Imagine you can turn the playtime with your lil one into a good learning experience.
Sounds fun?
The dream of every parent, I guess!!!
The truth is- Kids learn many skills and also become happy to use different tools as their elders.
They get the chance to show their imagination through their art. It not just improves their skills but also helps them to gain confidence and pleasure.
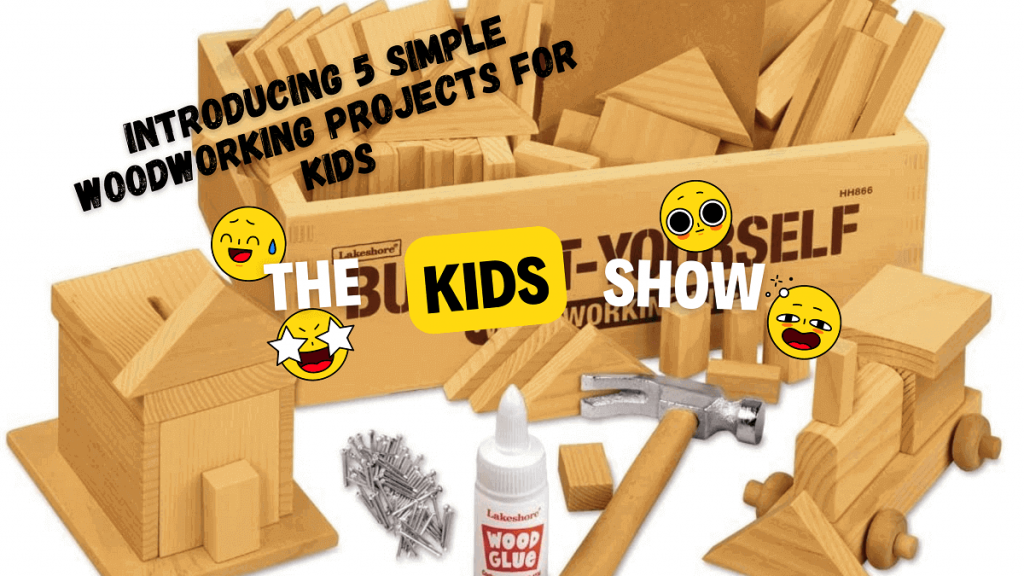
What are some creative activities? There are several choices to try, but here I will provide you with five simple woodworking projects for kids that you will be happy to try.
Simple Woodworking projects for kids (#5 creative yet fun activity)
Wondering what art can I do at home?
Here is 5 of our favorite Simple woodworking projects for Middle school fun activities we like to do with our kids.
1 .Toothbrush holder

Handy pick, right?
Yeah, One of the very simple woodworking projects for kids to try is to make a toothbrush holder for them. You can give them any shape that your kids love. You can shape them like afoot, like a start, or any other shape that your kid likes.
- It is pretty easy to draw any shape on a wooden piece. You can take any size of the piece that you think is suitable for the toothbrush box.
- Once you have drawn the wooden shape by using a marker, cut it with a jigsaw or band saw, whichever tool you have.
- Now draw a hole by using a drill machine through the shape your kids created.
- After drilling a hole in the shape, your kid will need to sand the shape and then paint.
- Your kid’s toothbrush holder is ready to use.
2. Banana Holder- The coolest yet Simple woodwork projects for school
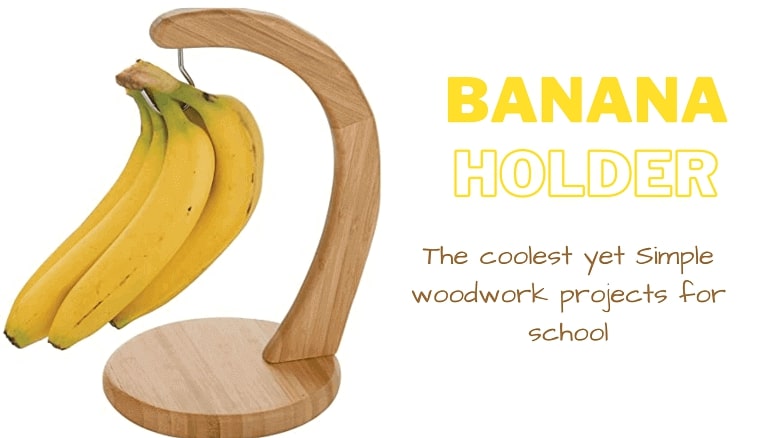
And you can make their banana-eating tastier and fun-filled by giving them the idea to prepare their banana holder.
It is pretty easy and looks very stylish where they can hang bananas and enjoy banana fruits when studying or watching movies by placing their own made banana holder.
And the best part?
You can give it a round shape or any other shape that you like, but around the base, it is better and looks more stylish.
- Take a wooden piece that should be 1.5 feet long and 1.5 feet wide. Take a moderate thickness of the piece.
- Now mark a circle with a compass, place a compass needle in the center, and mark around the line on a wooden piece.
- After that place, put it under a jigsaw and cut it in round shape following lines on the piece of wood.
- Once it prepares to place it aside, prepare two wooden rods, one smaller and one larger. Larger wooden rod, you can use 6 to 9 inches longer. Measure the rod and cut it with a hand saw.
- After that, cut a small wooden rod that should be 3 inches in length; once you have cut it, take a drill machine and drill a hole in the first rod on the upper side at an angle to fix the smaller rod to use it as the support for the Bananas.
- Fix the smaller wooden rod in a larger rod and then drill a hole according to the larger rod size and fix the larger rod. Your banana holder is ready; you can sand, paint, or any colorful look that you like.
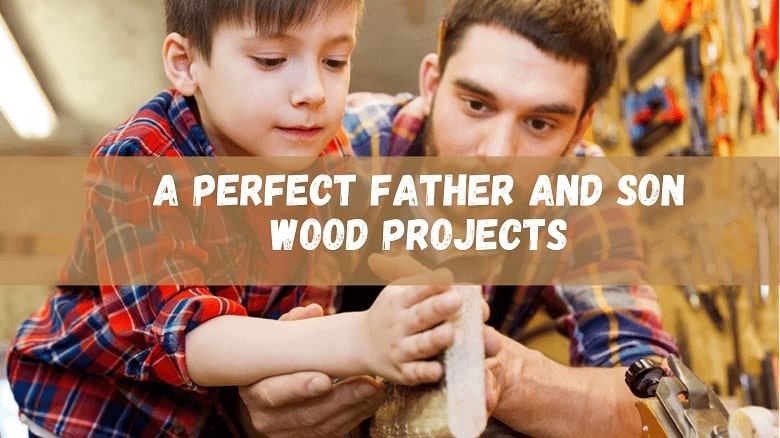
3. A perfect Father and son wood projects
You should!
It’s something our school system don’t teach our kids.
Bringing a piggy box at home could be a good step to make them habitual of saving coins in the box. But you can make it more interesting for them by making a piggy box at home. It is pretty easy and very rewarding. Let’s come to know easy tips to make.
- Take 2×6 wooden piece you can longer, but it is enough for piggy box
- Mark any shape that you like, such as fish-like, or mark a shape of any bird that you may like.
- After marking the shape, cut it in that shape by using a jigsaw. Then mark a cut on the upper side of the wooden piece for inserting coins.
- Place the shape on a wooden piece and mark the area according to shape for providing bottom cover to your piggy box. Mark lines according to shape on the wooden piece and cuts it with a jigsaw.
- Now place that piece on a hard plastic sheet to make it a cover for the piggy box upper side. Cut the glass by using a jigsaw.
- Check both pieces should be of the same length and width. You will need to mark holes in the first shape, plastic and wooden pieces to secure the holes.
- First, mark holes on the shape at a proper distance at each point; you may need 5 to 6 holes. Mark holes in the same length and point at plastic and wooden pieces that you cut for piggy box covers.
- Place both boxes on the holes and secure them with screws.
- Check it from both sides; your box is ready to paint or sand it and use it.
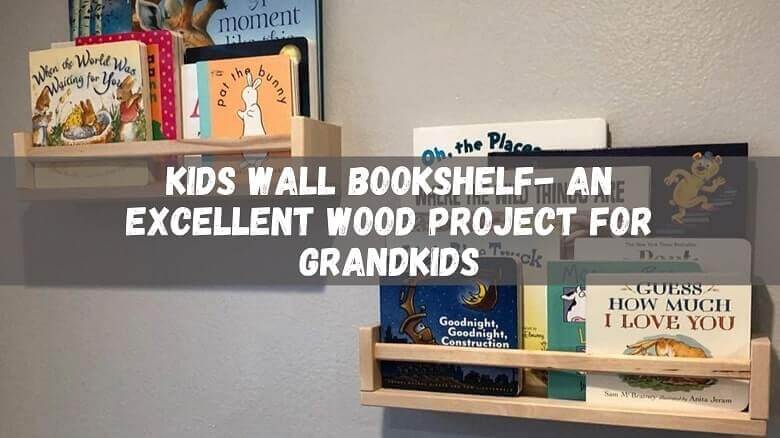
4. Kids Wall Bookshelf- An excellent Wood Project for grandkids
Looks familiar?
But it is a good idea to make a kid’s wall bookshelf with them to make it interesting for them to place books in a safe place. It will also increase their interest in reading.
- Take a long wooden piece that should be flat and length up to 24 inches, and its width should be 2 inches. Cut it in four pieces with a circular saw, cut two pieces in the length of ten inches while the other two in 2 inches each.
- Place one long piece on the table and next from its one side but vertically and also place two pieces from each end in vertical shape.
- You can bind all these pieces with tape to test them with the wall. Once you have tested them, now mark holes in each piece of wood and secure them with each other by inserting nails or pins.
- You will also need a wooden rod to install on the front side to support your books and protect them from falling. Cut a wooden rod of half an inch or one-inch width and ten inches long.
- Also, secure this rod with wooden pieces by securing it at each end.
- Now mark two holes close to the ends of the wood pieces in the middle to insert a nail for securing it with walls.
- Before mounting it with the wall, you can sand or paint it and then apply nails with a hammer to secure it with the wall. Check its durability; it should be secure enough to give support to kids’ books. And It’s done!!!!!!
5. Mason a bee house
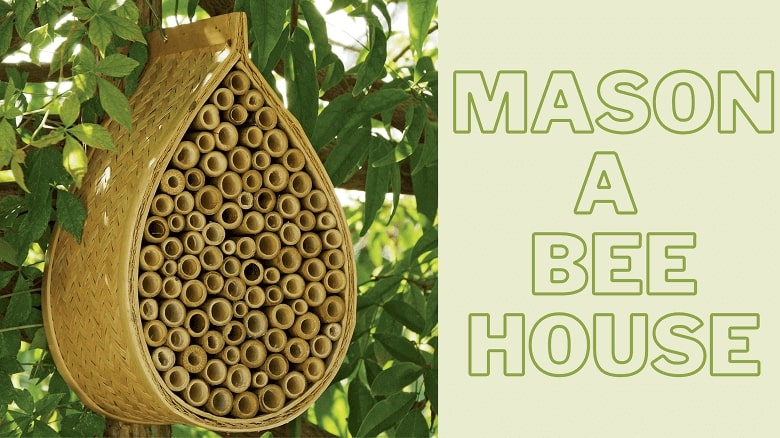
And that’s something we should teach your kiddos.
It could be a great idea to make your kids aware of nature and provide shelter to natural organisms. You can teach them to manufacture bee houses for bee shelters. It is very simple to make but gives your kids great happiness and peace of mind by helping the tiny creature provide a safe shelter. It is pretty easy to prepare.
- Take 25 inches long, smooth, flat, and 2 inches wider wooden pieces.
- Cut it into four 5 inches pieces and drill holes in each piece except one; drill at least 20 to 25 holes on each piece. Make sure the size of the hole is enough to easily allow the bee to enter and exit from the house.
- Now secure the flat wooden piece, and you have not marked any hole with the wall vertically.
- Cut the remaining 5 inches in equal length to use them as bee house roof and floor.
- Now secure each piece from the side’s walls and the front wall by using the nails and pushing the nails gently with a hammer.
- Once it is secured, and then secures its roof and floor. Paint it; your kids have prepared a beautiful bee house for their permanent shelter.
In a Nutshell
A kid with age grows, and there is a need to develop their abilities. It is the best idea to develop their abilities by introducing fun, full ideas. If you introduce Easy small wood projects, you can also develop many other beneficial habits and skills in them.
You have different simple woodworking projects for kids for beginners in your mind, but the above-mentioned ideas could be best to develop their skills and make them happy. They are simple, secure, and can be tried at home with some kids woodworking kit.
Happy Learning!!!!!
This is me Sonnet. I manage a full-time workshop for my clients’ woodworking projects. From a very young age, I’ve been always passionate about DIY projects. And that’s the reason I’m amicable with the woodworking tools. I’m regularly handling a couple of projects like cabinets, furniture, boats, and many more using wood, veneers, and laminates.